
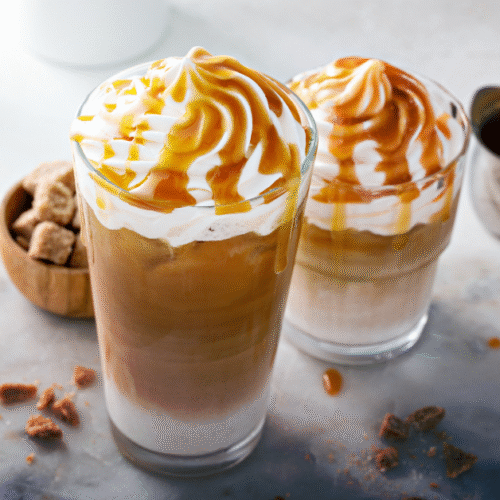
Iced Sea-Salt Caramel Latte
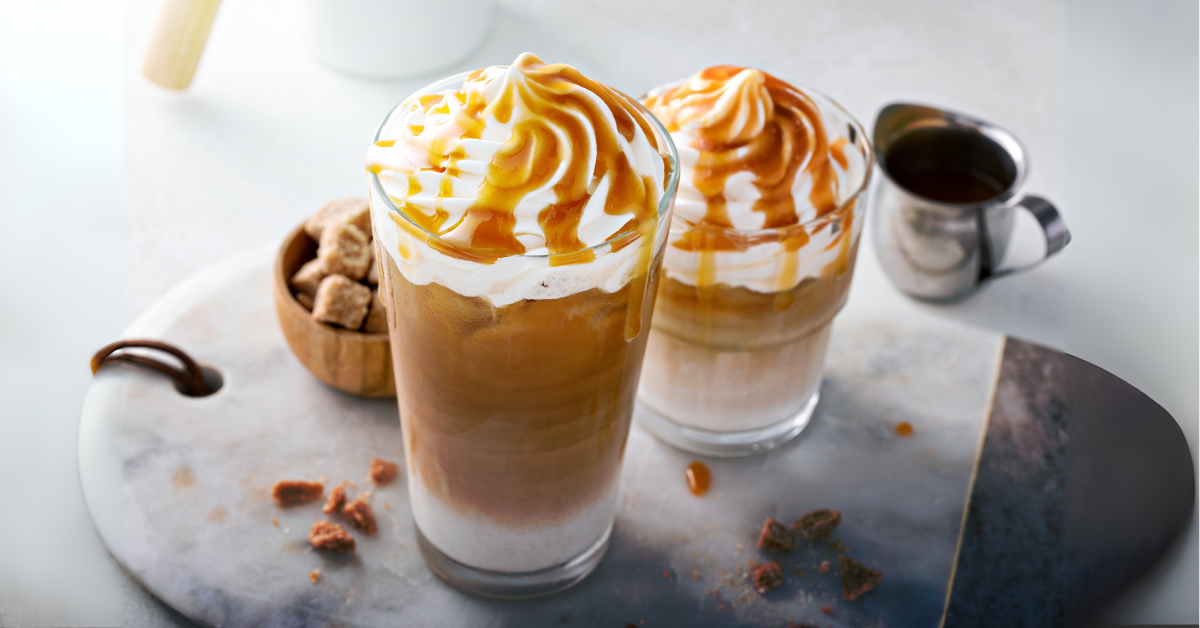
When the weather heats up, nothing beats the smooth, sweet-and-salty refreshment of an Iced Sea-Salt Caramel Latte.
Chilled espresso mingles with creamy milk and a swirl of buttery caramel syrup, while a pinch of sea salt adds a sophisticated edge.
It’s a café-style indulgence that’s simple to make at home; perfect for lazy afternoons, sunny brunches, or anytime you need a cool caffeine kick with a decadent twist.
Iced Sea-Salt Caramel Latte
Equipment
- Espresso machine or coffee maker/French press (to brew strong coffee)
- Tall glass (12–16 oz) for serving
- Small saucepan (if making homemade caramel syrup)
- Stirring spoon or bar spoon
- Measuring cups and spoons
- Ice cube tray (for plenty of fresh ice)
- Whisk (optional, for mixing syrup or frothing milk)
- Milk frother or handheld frother (optional, if you want cold foam topping)
Ingredients
Caramel-Salt Syrup (homemade option):
- ½ cup granulated sugar
- ½ cup water
- 2 Tbsp heavy cream
- 1 tsp vanilla extract
- ¼ –½ tsp fine sea salt
Latte:
- 1 –2 shots espresso ≈ 2 oz, cooled
- ½ cup cold milk of choice
- 1 –2 Tbsp caramel-salt syrup or store-bought salted caramel syrup
- 1 cup ice cubes
- Optional toppings: cold foam or whipped cream extra caramel drizzle, pinch of flaky sea salt
Instructions
Make the caramel-salt syrup (optional):
- Heat sugar and water over medium heat until dissolved.
- Let boil until it turns light amber.
- Remove from heat, whisk in cream and vanilla, then stir in sea salt. Cool completely.
Assemble the iced latte:
- Fill a tall glass with ice cubes.
- Add caramel-salt syrup and cooled espresso; stir well.
- Pour in cold milk. Stir gently to combine.
- Top with cold foam or whipped cream, drizzle more caramel, and sprinkle a tiny pinch of flaky salt.
Notes
- Chill the espresso: Let freshly brewed espresso or strong coffee cool for a few minutes, or pop it in the fridge for a quick chill to prevent melting the ice too fast.
- Homemade syrup storage: Keep extra caramel-salt syrup in an airtight jar in the refrigerator for up to 2 weeks. Warm slightly or shake before using if it thickens.
- Control the sweetness: Start with 1 tablespoon of syrup and taste before adding more. The salt enhances flavor, so you may need less sugar than expected.
- Salt selection: Use fine sea salt for the syrup so it dissolves completely, and finish with a tiny pinch of flaky salt for garnish and texture.
- Dairy-free options: Oat milk froths nicely and adds a subtle sweetness; almond or coconut milk also pairs well with caramel.
- Cold foam topping: For a coffeehouse look, froth a few tablespoons of milk (or a mix of milk and cream) using a handheld frother or French press and spoon over the drink.
- Batch preparation: Brew a pot of strong coffee and store it in the fridge for quick assembly of multiple servings—perfect for entertaining.
- Flavor variations: Add a dash of vanilla extract or a hint of cinnamon to the caramel syrup for an extra dimension.
Cool, creamy, and effortlessly indulgent, this iced latte transforms an ordinary coffee break into a café-style treat.
With its perfect balance of caramel sweetness and a whisper of sea salt, it’s the ultimate refreshment for warm afternoons or whenever you crave a sweet-and-salty pick-me-up.
Serve it in a tall glass with a sprinkle of flaky salt, and enjoy the little luxury of a coffeehouse classic made right at home.
Prefer something cozy instead? Check out our Sea-Salt Caramel Latte (Hot Version) for a warm, comforting twist on the same irresistible flavor.