Ingredients
Equipment
Method
- Brew the Coffee: Prepare a cup of strong coffee or espresso and let it cool completely. Stir in sugar if desired.
- Make the Cream Filling: In a mixing bowl, beat the chilled heavy cream until soft peaks form. In another bowl, whisk together mascarpone cheese, powdered sugar, and vanilla extract until smooth. Gently fold the whipped cream into the mascarpone mixture until fully combined and fluffy.
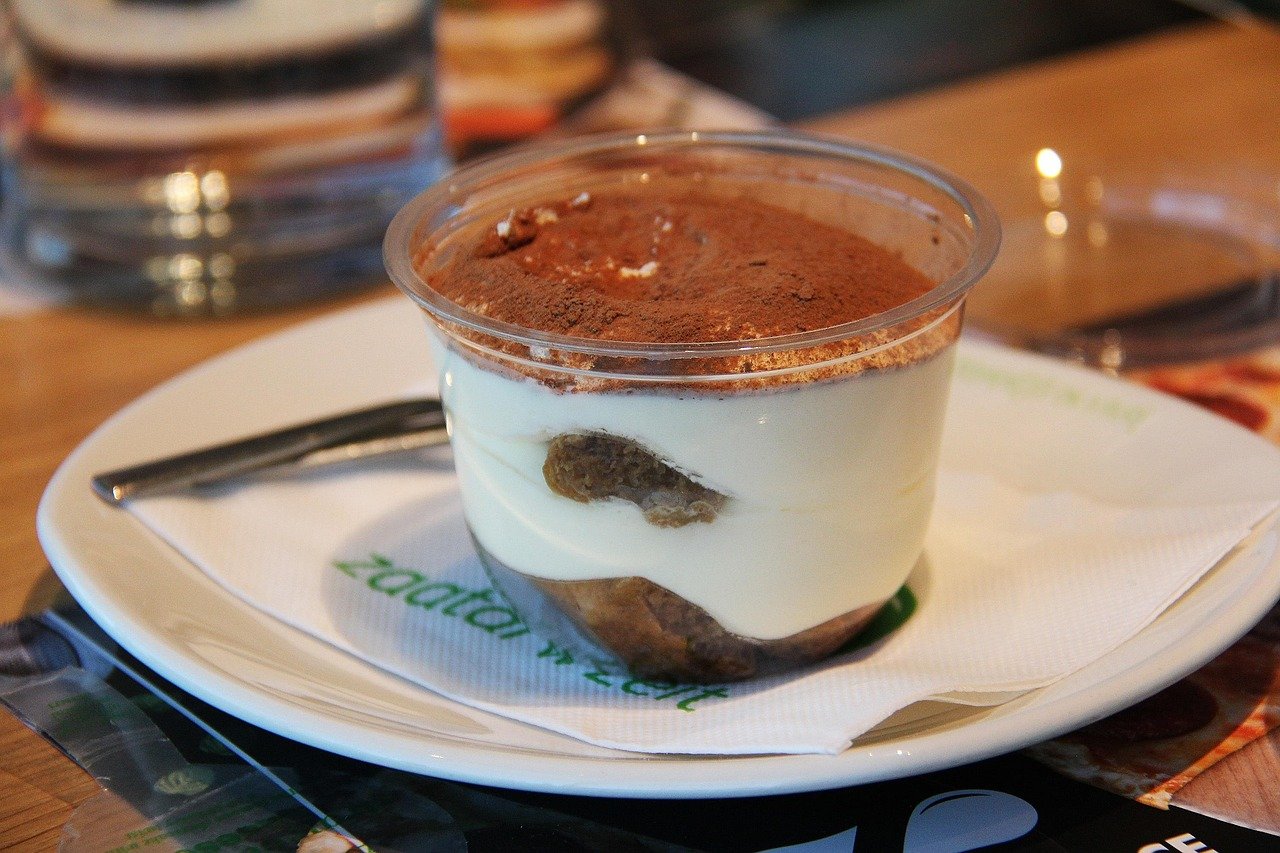
- Assemble the Cups: Quickly dip each ladyfinger in the cooled coffee (don’t soak too long). Break them into pieces and layer the bottom of each dessert cup. Spoon a layer of mascarpone cream over the ladyfingers. Repeat the layers (ladyfingers + cream) until the cup is full.
- Finish & Chill: Smooth the top, cover, and refrigerate for at least 4 hours (or overnight) to set.
- Serve: Before serving, dust generously with cocoa powder using a fine sieve.
Notes
Additional Notes & Tips
- Use cold ingredients: Keep your heavy cream and mascarpone chilled before mixing — this helps the cream whip faster and hold its shape.
- Don’t over-soak the ladyfingers: A quick 1–2 second dip in the coffee is enough. If they’re too soggy, your tiramisu layers can become mushy.
- Make ahead: Tiramisu tastes even better the next day, when the flavors have blended. You can prepare it up to 24 hours in advance.
- Storage: Store covered in the refrigerator for up to 3 days. Avoid freezing, as it can affect the creamy texture.
- Decaf option: For a caffeine-free version, use decaf espresso or instant coffee — it won’t change the flavor.
- Dairy-free alternative: Substitute mascarpone with vegan cream cheese and heavy cream with coconut cream for a dairy-free version.
- Serving idea: Add chocolate curls, coffee beans, or a drizzle of chocolate syrup on top for an elegant presentation.
- Kid-friendly dessert: Since it’s alcohol-free, this tiramisu is perfect for family gatherings, holidays, and coffee lovers of all ages.